
The Sneaky Double Top
Double top analysis on gold futures using 1-min and 5-min charts with the Futures Volatility Box. 1-min fade: 3.4pt risk, 6.5pt max move. 5-min: 5-day new high failed to continue. Momentum cross for confirmation.

Context First: When Double Tops Matter
In the companion video, we use gold futures (GC) to study double tops on both micro (1-minute) and larger (5-minute) timeframes. The first step is context. The Futures Volatility Box tells you when to care about these setups. A double top in the middle of a chop zone is noise. A double top inside a VB fade zone, where price has breached the cyan entry lines and the overbought/oversold confirmation is present, is actionable.
The 1-Minute Micro Double Top
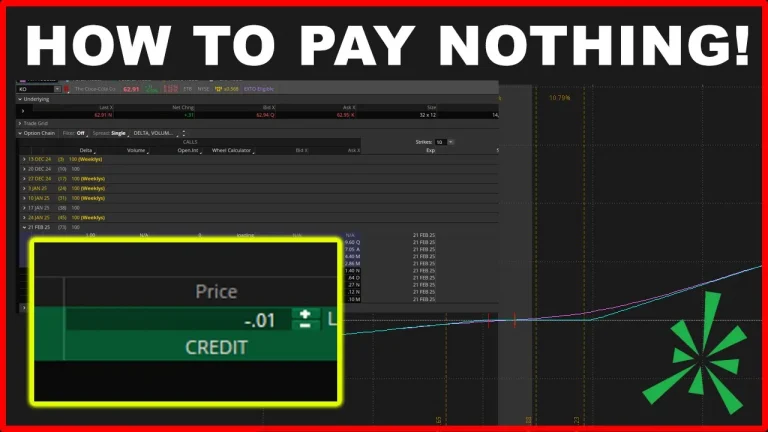
On the 1-minute chart, the VB fade setup triggered when price breached the cyan entry lines. The overbought confirmation (red arrow from edge signals) appeared, and we were looking for a pullback entry at the cyan line. The stop was outside the VB clouds, approximately 3.4 points of risk. Gold made a max move of about 6.5 points to the downside, exceeding the minimum first target. The stop moved to breakeven for remaining contracts, which later got taken out when price reversed.
Looking at the same price action through double top glasses: we had one top, a slight pullback, then a second top that made a new high but failed to show any bullish strength above it. Price faltered and formed the classic M shape. As soon as the neckline of support broke, gold had its next leg lower.
Momentum Cross as Additional Confirmation
The momentum cross indicator (3 EMA vs 8 EMA) provides a simple read on what the short-term moving averages are telling you. On the 1-minute chart, the momentum cross occurred before the neckline broke but after the second top was confirmed as failing to show strength. This gave additional confirmation that the move was rolling over.
The 5-Minute Double Top
Expanding to the 5-minute chart, the micro double top action from the 1-minute was contained in just two candles. The larger double top that stood out was a 5-day new high. Price made that new high, but could not show any continuation. Wicks appeared, and even a strong-bodied candle that you would expect continuation from failed to break above its own high for the rest of the day.
On the 5-minute chart, the momentum cross triggered twice as the trend shifted. The bulls tried one last push, but it became a wall, and price rolled over from there.
Reading Double Top Quality
Not all double tops are equal. The confidence in a double top improves when a new high is reached but fails to build strength. If instead the candles after the second high start showing larger green bodies and closing above where they opened, that signals a new leg in the trend, not a double top. The key tell is what happens at and immediately after the second high: wicks and failures vs. strong continuation candles.
Frequently Asked Questions
How do you identify a real double top vs. a new trend leg?
Watch what happens after the second high. If candles show wicks and fail to build strength above it, the double top is likely real. If you see strong-bodied green candles closing above the second high, it is more likely a new leg up, not a double top.
What was the risk on the gold 1-minute setup?
3.4 points, which was the distance from the cyan entry line to outside the VB clouds. The max move was 6.5 points to the downside, exceeding the first target. The stop moved to breakeven for remaining contracts.
What does the momentum cross indicator show?
It compares the 3 EMA to the 8 EMA to read short-term trend direction. The cross signals when short-term momentum is shifting, providing additional confirmation that the double top is rolling over.
Why use the Volatility Box for context?
The VB tells you when you care about a double top setup. A double top inside a VB fade zone (price has breached cyan lines with overbought confirmation) is actionable. A double top in the middle of a chop zone is just noise.
Does this work on timeframes other than gold?
Yes. The double top concept with VB context and momentum cross confirmation applies to any market and any timeframe. The video uses gold futures as the example, but the same logic works on indices, stocks, or other futures.


Ready to Trade With an Edge?
Join 40,000+ traders using institutional-grade tools for ThinkOrSwim.
Get the Bundle